Hand tools do not become obsolete. A well-made chisel from the 1970s still cuts as cleanly today as it did when it was new, provided the edge is properly maintained. That fact shapes the approach most experienced hobby woodworkers take to building a toolkit: buy fewer things, buy quality, and learn to use each one thoroughly before adding the next.
This article covers the categories of hand tools that come up in the widest range of woodworking tasks — from initial layout and marking through to final surface prep. It is not a purchasing guide; prices and availability change. It is a guide to understanding what each tool actually does and where its limits lie.
Marking and layout
Work begins before any cut. A marking gauge and a good combination square are the instruments that transfer dimensions from a drawing to the wood surface with the precision that joinery requires. A struck pencil line is not precise enough for mortise and tenon work; a knife line, which severs the wood fibres before the chisel reaches them, is.
Marking gauge
A marking gauge scribes a line parallel to a reference edge. The traditional wooden version with a steel pin works well for softwoods but tends to tear fibres on hardwood end grain. A wheel or cutting-gauge variant, which uses a small blade rather than a pin, produces a cleaner result on dense hardwoods like walnut or oak — both of which are common in Italian timber merchants.
Combination square
A 300mm combination square checks 90-degree and 45-degree angles, acts as a depth gauge, and can be used to scribe lines parallel to an edge when a marking gauge is not the right tool. Accuracy varies considerably between budget and mid-range models; it is worth checking a square against a known reference before trusting it.
Chisels

A chisel converts hammer energy into a controlled cut or paring action. The bevel-edge bench chisel is the most versatile form — the sloped sides allow it to reach into corner joints that a firmer chisel cannot. Most beginners find that four sizes cover the majority of tasks: 6mm, 12mm, 19mm, and 25mm.
Sharpening
A chisel that is not sharp is not just less effective — it is more dangerous, because the extra force required makes control unpredictable. The standard progression for sharpening uses increasingly fine abrasive surfaces, from a coarse waterstone (around 220 grit) through a medium stone (800–1000 grit) to a fine stone (4000–8000 grit), followed by a leather strop. The bevel angle for a bench chisel is typically 25 to 30 degrees; lower angles cut more freely but chip faster on hardwood.
Paring versus chopping
Chopping — driving the chisel with a mallet — removes material quickly when clearing waste from a joint. Paring — pushing the chisel by hand alone — refines a surface to its final dimension. The two actions require different edge conditions: a chopping chisel can tolerate a slightly more robust (and therefore more durable) bevel than a paring chisel, which benefits from a thinner, more acute edge.
Planes
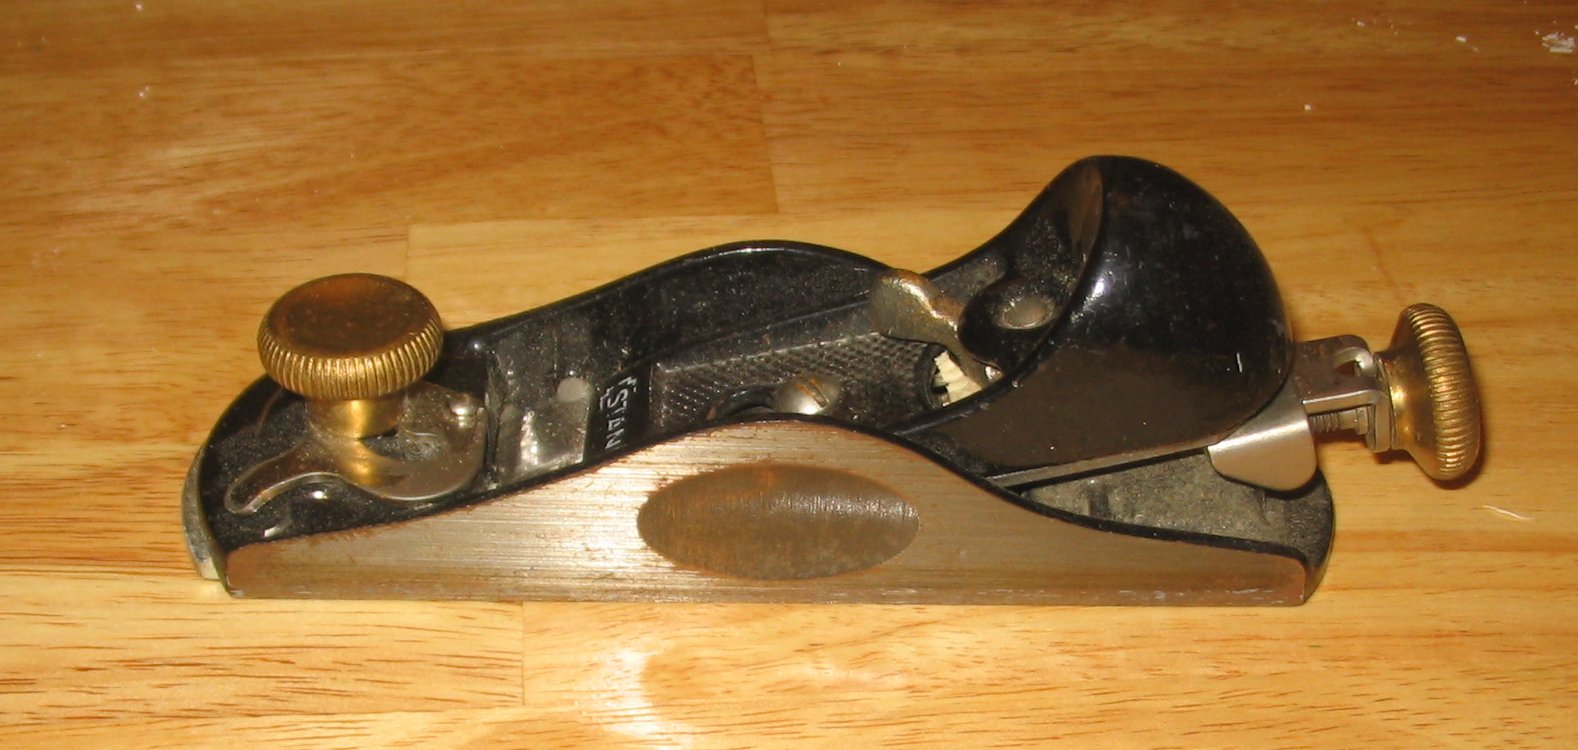
A hand plane flattens, smooths, and dimensions wood. The block plane — small enough to be held in one hand — handles end grain and chamfering tasks that a longer bench plane is not suited to. A No. 4 or No. 4½ smoothing plane handles the majority of face-grain work and is the plane worth investing in first.
Setting a plane iron
The cutting iron must protrude evenly below the sole of the plane — uneven projection produces a surface with ridges. On a bench plane, lateral adjustment is made with a lever beside the iron; depth is controlled with a brass knob. A correctly set plane should take a continuous, translucent shaving across the full width of the blade. If shavings tear rather than curl, the cap iron may be set too far back from the edge, or the iron itself may need sharpening.
With the grain and against it
Planing against the grain tears wood fibres. The direction that produces a smooth surface is found by reading the grain on the edge of the board: the fibres should slope downward in the direction of travel, like roof tiles in the direction you're walking. On figured wood — burls, curly maple, crotch pieces — the grain reverses direction within a single board, and a higher cutting angle (or a card scraper) is more reliable than a plane.
Saws

Hand saws divide into rip saws (cutting along the grain) and crosscut saws (cutting across it). Rip teeth are filed straight across to act as chisels; crosscut teeth are filed at an angle to act as knives. Modern "hard-point" saws are inexpensive and cut well when new, but cannot be resharpened — they are disposable. Traditional saws with taper-ground plates can be resharpened indefinitely by a competent saw filer.
Tenon and dovetail saws
A tenon saw has a reinforced brass or steel back that prevents the blade from flexing during a cut — this precision is what joinery work requires. Dovetail saws are finer-toothed versions of the same form. Both cut on the push stroke (in the European tradition) or the pull stroke (in the Japanese tradition). Japanese pull saws cut faster and leave a slightly finer kerf but are more fragile and harder to resharpen.
Coping saws and bow saws
Curved cuts require a thin blade under tension. The coping saw — a small frame saw with a fine blade — is used for internal curves and decorative cutouts. Bow saws, which are larger and usually shop-made with a wooden frame, handle heavier curved ripping in solid timber.
Mallets

A wooden or polymer mallet is the correct striking tool for chisels — a steel hammer deforms the handle end over time and produces less controllable blows. A round lignum vitae or beech mallet weighing between 350g and 500g covers most tasks. Heavier mallets are used for mortise work in hardwood.
Building a toolkit gradually
The most reliable approach is to start with the tools a specific project actually requires rather than assembling a comprehensive kit in advance. A box joint or a simple mortise-and-tenon stool requires: a marking gauge, a combination square, two or three chisels (12mm, 19mm, 25mm), a No. 4 bench plane, a tenon saw, and a mallet. A block plane and a coping saw become relevant when the next project introduces end-grain chamfers or curved parts.
The quality of a hand tool's steel matters far more than brand recognition. A lesser-known Italian toolmaker's chisel in O1 steel will hold an edge longer than a branded equivalent in lower-quality alloy.
Tool markets and estate sales in Tuscany and Emilia-Romagna regularly surface good-quality vintage hand tools at practical prices — a useful avenue if the budget for new tools is limited. Condition matters; rust on a body is typically superficial, but a cracked or warped sole on a plane is difficult to correct.
Further reading
For technical specifications on hand tool construction and steel grades, the FAO Forestry Division publishes reference material on timber properties relevant to tool selection. For a rigorous treatment of plane adjustment and chisel technique, the Lie-Nielsen Toolworks technical notes (available freely on their website) are among the most thorough English-language references in print.
Related: Choosing the Right Wood for Beginners — Basic Joinery Techniques for Beginners